How to Track Bike Maintenance: Building a System You Won't Abandon

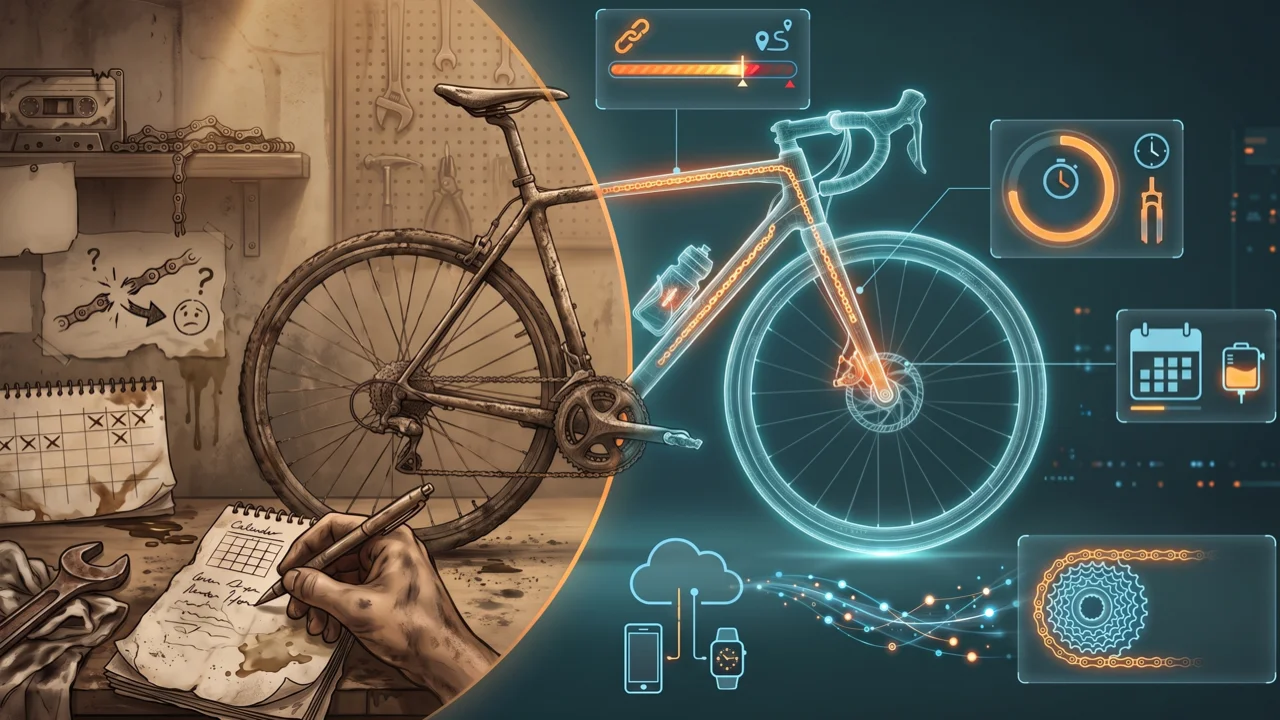
Quick answer: Track bike maintenance by logging three things per component: install date, distance at install, and a service interval ("chain → replace every 4,000 km"). Match the interval to how the part actually wears — distance for chains and tyres, riding hours for suspension, calendar time for brake fluid and sealant. Start with three components, not thirty, and do not try to reconstruct history you don't have. The system you keep beats the complete system you abandon in February.
Your bike has around forty parts that wear out, and every one of them is on its own schedule. The chain is counting kilometres. The fork is counting hours. The brake fluid is counting months and does not care whether the bike left the garage.
Nobody holds forty schedules in their head. What actually happens is you hold one — usually the chain, roughly — and everything else gets discovered by a noise, a bill, or a mechanic asking a question you can't answer.
Key takeaways
- Three numbers per component are enough: install date, distance at install, service interval.
- Different parts wear on different clocks. A system that only counts kilometres cannot schedule a brake bleed or a fork service.
- Start with three components. A twelve-component setup on day one is the reason people quit.
- Do not back-fill history you can't verify. "Unknown, tracked from today" is a usable value; a guess you later trust is worse than a blank.
- Shared wheelsets and swapped parts are where multi-bike tracking breaks — pick a tool whose history follows the component, not the frame.
Table of Contents
- Why tracking beats remembering
- What to track, and on which clock
- Choosing the tool
- Building the system
- Running it across several bikes
- Service events, not just parts
- The minimum viable system
- How WatchMy.bike does it
- FAQ
Why tracking beats remembering
Cost is the honest reason. A chain is a consumable that protects two expensive parts. Let it stretch past its limit and it reshapes the cassette teeth it runs on, so a €30 job becomes a €200 to €400 one. That single cascade is the most common expensive failure in cycling and it is entirely a timing problem. The full arithmetic is in how a €40 repair becomes a €400 one.
Safety is the reason you can't negotiate with. Brake pads worn to the backing plate, a tyre with casing showing, a cable about to part. These fail without much warning and the consequence is not financial.
Resale is the reason you'll appreciate later. A buyer is pricing everything they can't see — when the suspension was last serviced, whether the bearings are original. Records answer those questions, and answered questions carry a premium. More on that in service history and resale value.
What to track, and on which clock
Most tracking advice gives you a list of parts. The list is the easy half. The half that decides whether your system works is which clock each part runs on, because a schedule set against the wrong clock quietly does nothing.
| Component | Clock | Typical interval | Why this clock |
|---|---|---|---|
| Chain | Distance | 3,000–5,000 km, or 0.5% elongation | Wear tracks metres of chain articulation |
| Cassette / chainrings | Distance | 2–3 chain lifetimes | Protected entirely by chain timing |
| Brake pads | Distance | 1,000–3,000 km rim, 2,000–5,000 km disc | Wear tracks braking, which tracks distance |
| Tyres | Distance | 3,000–6,000 km road, 1,000–3,000 km MTB | Tread and cut resistance fall off late |
| Cables and housing | Distance or time | 5,000–10,000 km, or yearly | Contamination is as much time as use |
| Fork and shock seals | Riding hours | ~50 h lowers, ~200 h full | Suspension counts strokes, not ground covered |
| Hydraulic brake fluid | Calendar time | 12 months | Fluid absorbs moisture whether you ride or not |
| Tubeless sealant | Calendar time | 3–6 months | Dries out in the tyre, unridden |
| Bearings (hubs, BB, headset) | Distance or symptom | Annual, or on noise and play | Condition-driven; noise is the real trigger |
Manufacturer figures beat every number in that table. Treat it as a starting point and adjust for your conditions — wet, gritty winter riding shortens nearly everything on the list. For per-part depth, how long do bike parts last covers the ranges and the reasoning.
Per component, you only need three values:
- Install date — for anything on a calendar clock.
- Distance at install — the odometer reading when it went on, so "distance since" is a subtraction rather than a memory.
- Service interval — the number and the clock.
Everything else (brand, model, price, notes) is nice and none of it is load-bearing.
Choosing the tool
Notebook, spreadsheet, Strava's gear page, or a dedicated app — the trade-offs between those four are a separate question, and I've written it up properly in the digital bike maintenance log guide, including the two pass/fail tests that predict whether you'll still be using a tool in six months. For a feature-by-feature comparison of eight tracking apps, see best bike tracking apps in 2026.
The short version, so this page stands on its own: whatever you pick has to update distance without you typing it, and has to track per component rather than per bike. Those two properties are what separate real maintenance tracking from a service diary. Everything below assumes both are handled. If they aren't, the system fails for reasons no amount of discipline fixes.
Building the system
Step 1: Inventory what's on the bikes — and stop there
List the parts you'd eventually replace. For each, note the install date and the distance at install if you know them.
You mostly won't know them. That is fine, and this is where most people go wrong.
The back-fill trap: almost every guide tells you to reconstruct your history. Don't. A guessed install date becomes a number you trust in six months, and a wrong number is worse than a blank one, because a blank prompts you to check the part while a wrong number tells you not to bother. Write "unknown, tracked from today" and let the clock start now. You lose a few months of history once. You gain a log that is true.
The exception is anything you have a receipt or a photo for. Real evidence, real date.
Step 2: Set intervals, on the right clock
Take the table above, apply your manufacturer's numbers where you have them, and set one interval per component you're tracking. Two rules that save trouble later:
- Set it slightly early. Put the interval about 200 km or two weeks before the real limit so you get a warning while there's still time to order the part.
- Adjust per bike, not per component type. Your winter commuter and your summer road bike do not wear chains at the same rate, so the same "chain" component type wants different numbers on each.
Step 3: Make the reminder arrive without you looking
A log you have to remember to open is a log that tells you things after the fact. The reminder has to come to you: an email, a push notification, a calendar entry. There's a full setup walkthrough in how to set up bike maintenance alerts, including the six reminders worth having before any others.
Step 4: Log the service, not the ride
This is the only manual habit worth building, and it's small. When you actually turn a wrench, record it: what you did, the date, and the distance it happened at. Then the interval resets from there.
Do it the same day. The reason is not discipline, it's accuracy — a week later you'll remember the job and not the odometer, which loses you the number that mattered.
Note what you don't log: rides. If you're updating distances by hand, the tool is wrong, not your habits.
Running it across several bikes
One bike is a list. Four bikes is a system, and two things break first.
Shared components. The wheelset you move between the gravel bike and the winter bike, the power meter pedals that go on whatever you're racing. These belong to a component, not a frame, and their distance should follow them across the swap. A tool that resets them to zero when they move has destroyed the number you were tracking. This is the single most common reason multi-bike spreadsheets get abandoned — the maths stops being possible.
Per-bike intervals. Identical parts on different bikes wear at different rates. The commuter sees salt and rain; the good bike sees dry Sundays. If your system only lets you set one interval per component type, it will nag you about the wrong bike and you'll start ignoring it.
A fleet view helps for budgeting — knowing that three chains and two cassettes are due in the next month is the difference between a planned order and three separate emergency trips. Tracking mileage per component goes deeper on how per-part distance works when parts move around.
Service events, not just parts
Replaceable parts are the obvious half. The other half is work that doesn't replace anything:
- Bottom bracket and hub bearing service
- Suspension lower-leg and full service
- Dropper post service
- Brake bleeds
- Professional bike fit
These are mostly calendar or riding-hours items, and they're the ones that vanish from a distance-only system. They're also the expensive ones to skip, because a dry bearing does not announce itself until it has damaged the thing it sits in.
If you want a ready-made schedule rather than building one, the road bike service schedule and gravel maintenance schedule lay out what to do at which intervals.
The minimum viable system
If everything above reads like a project, start here instead. This is a real system, not a compromise:
- Track the chain. Just the chain.
- Check it monthly with a chain checker — they cost about €10 to €15.
- Replace at 0.5% elongation on 11- and 12-speed, 0.75% on 10-speed and older.
That single habit prevents the most expensive routine failure in cycling. Chain maintenance 101 covers the measurement and what wear actually costs you in watts and money.
When that's automatic, add brake pads. Then tyres. Then the calendar items. Three components tracked for two years beats thirty components tracked for three weeks, and it is not close.
How WatchMy.bike does it
I built WatchMy.bike around the two failure modes above: manual distance entry, and history that doesn't survive a component swap.
Distance arrives on its own. Connect Strava and every ride updates a per-component odometer. Each chain, cassette and pad carries its own distance, independent of the bike it's bolted to, and that distance follows it if you move it. Strava is the only sync source today — Garmin and Wahoo are on the roadmap, not shipped — so bikes that don't ride with Strava are tracked by entering distance yourself.
Intervals use three clocks. Distance, calendar time, and riding time. That's what lets the fork be scheduled in hours and the brake bleed in months, in the same place as the chain in kilometres.
Choosing a component type prefills its expected lifespan from a typical figure for that part, so you're adjusting a sensible number instead of inventing one. The service interval itself you add afterwards, in the component's service section — it isn't created for you.
Service history survives. Retire a part and its record stays; move a part and its distance travels with it.
Costs, on the paid tiers. Cost per kilometre per component, which turns the cascade arithmetic into your numbers rather than my averages — what that number looks like on my own bikes, and why the denominator matters more than the shopping list.
The free Steel plan covers three bikes with unlimited components each, Strava sync, email alerts, five service intervals and data export. Alloy covers ten bikes and Carbon fifty.
Set up these three and you've covered the expensive failures:
- "Chain wear" — distance interval, every ~3,000 km (adjust to your drivetrain and weather)
- "Fork lower-leg service" — riding-time interval, every 50 hours
- "Brake bleed" — time interval, every 12 months
FAQ
How do I track bike maintenance?
Log three values per component: the install date, the odometer reading when it was installed, and a service interval matched to how that part wears. Distance suits chains, tyres and pads; riding hours suit suspension; calendar months suit brake fluid and sealant. Then make the reminder come to you rather than relying on checking a log. Start with three components and add more once the habit holds.
What should I track first?
The chain, on its own, before anything else. It is cheap, it wears predictably, and replacing it on time is what protects the cassette and chainrings behind it — the most expensive routine failure in cycling. Brake pads and tyres come next because being late on those is a safety issue rather than a cost one.
Is a spreadsheet good enough for tracking bike maintenance?
For one bike and a disciplined owner, yes. It breaks in two predictable places: you have to type the distance after rides, which is the habit that fails, and shared components moving between bikes make the formulas unmanageable. If you have one bike and enjoy spreadsheets, the columns that matter are component, install date, distance at install, interval, and next due.
Can Strava track bike maintenance?
Partly. Strava's gear feature tallies distance automatically, which is the hard part solved for free. Its limits are that it holds only one component of each type per bike, it sends no maintenance alerts, and retired components can't be brought back — so it works as a distance counter rather than maintenance tracking. Many riders use Strava for distance and a dedicated tracker for the maintenance layer on top; where Strava's gear tracking stops and how to fill the gap goes through the limits one by one.
How often should I update my maintenance log?
If distance syncs from your rides, never for distance. You touch the log only when you perform a service: record what you did, on what date, at what distance, and the interval restarts from there. Do it the same day, because a week later you'll remember the job but not the odometer reading.
How do I track components I move between bikes?
You need a tool where distance belongs to the component rather than the frame, so a wheelset moving from the gravel bike to the winter bike carries its accumulated distance with it. If your system resets a part to zero when it moves, it cannot track shared kit, and any multi-bike setup will eventually hit that wall.
What about parts that were already on the bike when I started tracking?
Record them as unknown and start the clock from today rather than guessing a history you can't verify. A guessed number becomes a trusted number, and a wrong trusted number stops you inspecting a part that needs it. You lose some history once; you get a log whose numbers mean something.
Questions about setting up a tracking system? Reach out at marien@WatchMy.bike.