Where does that creak come from? A diagnostic guide
•8 min read
Quick answer: Diagnose a creak by when it happens, not where you think you hear it. Note the position in the pedal stroke (top / bottom / side-to-side rocking), cadence (high RPM only / under load only), and whether it disappears out of the saddle. This narrows the bike in half before you touch a tool. Most "bottom bracket creaks" turn out to be seatposts, pedal threads, or chainring bolts — and the binary-search approach saves the €60–120 wrong-suspect tax.
You're climbing the same hill you climbed last week. Same gear, same effort. Halfway up, click. Couple of pedal strokes later, click. By the top you've heard it twenty times, and you have absolutely no idea where it's coming from.
Welcome to the most universal cycling frustration. Forums are full of riders who replaced a bottom bracket only to discover the creak was the seatpost. Or who took the headset apart twice and the noise turned out to be a single loose chainring bolt. The wrong-suspect tax is real, and a new BB is €60–€120 you didn't need to spend.
There's a better way. Don't chase the creak by where you think you hear it — chase it by when it happens. Position, cadence, and load isolate most creaks before you touch a tool.
Why creaks are so hard to hear
A creak is stored energy releasing at a metal interface under load. The interface itself can be tiny — two surfaces, lightly oxidised, slipping a hair under the force of a pedal stroke. The sound it makes is loud out of proportion to the size of the offence, because frames (especially carbon ones) act like resonance chambers and transmit it everywhere.
That's the trap. From BikeRadar's deep-dive, a quote worth remembering:
"A creaky Mavic front hub can sound like it's coming from the back."
Carbon transmits sound far better than your ear can localise it. So do not trust where you think you hear it. Trust where the load is when you hear it.
The diagnostic backbone
The single most useful five minutes you can spend before opening a tool roll: ride a quiet stretch and run these tests. Each one cuts the bike's suspect list in half.
| Test | What you're listening for | What it tells you |
|---|---|---|
| Stand up, hammer the pedals | Creak appears | Bottom bracket, cranks, chainring bolts, pedals |
| Sit down, keep pedaling | Creak gone | Same — confirms it's load-on-cranks |
| Sit down, coast | Creak appears | Wheels, hubs, headset, frame |
| Sit down, coast, wiggle bars | Creak appears | Headset, cable housing end caps, stem |
| Pull on front brake hard, rock bike fore/aft | Creak appears | Headset bearings (loose preload) |
| Push down on saddle while standing next to bike | Creak appears | Saddle rails or seatpost |
| Sprint out of the saddle, count creaks per stroke | One creak per pedal revolution | Crankset / pedal area |
| Same, but every 2–3 revolutions | Sounds non-rhythmic | Chain — likely a tight or worn link |
That's Park Tool's cadence rule, codified: once per revolution = crank or pedal area; once per 2–3 revolutions = chain; no correlation to pedaling = look elsewhere.
After those tests you've narrowed the bike to one quadrant. Now you know which short-list to work through.
The 12 suspects, ranked
Sorted by how often each is the actual culprit (across the sources I read), with the symptom that gives it away.
| # | Suspect | Tell | First fix |
|---|---|---|---|
| 1 | Bottom bracket | Power-dependent, loud when standing, gone when coasting. Cranks rock side-to-side. | Pull, clean, regrease, retorque. Replace if pitted. |
| 2 | Crank arm / pinch bolt | Same symptoms as BB but cures with a torque check + thread prep. | Loosen, clean interface, grease, torque to spec. |
| 3 | Chainring bolts | Mimics BB. Often a single loose bolt out of five. | Remove, clean, anti-seize on threads, retorque all. |
| 4 | Pedals | Once-per-revolution click; bearings dry or thread interface unlubed. | Remove, regrease threads, reinstall. Swap a known-good pedal to confirm. |
| 5 | Cleats / shoes | Squeak-like rather than click. Goes away with different shoes. | Clean cleats, regrease bolts, replace if worn. |
| 6 | Saddle rails / clamp | Only when seated; often only over bumps. | Stand next to bike, push down on saddle. Re-grease and torque the clamp. |
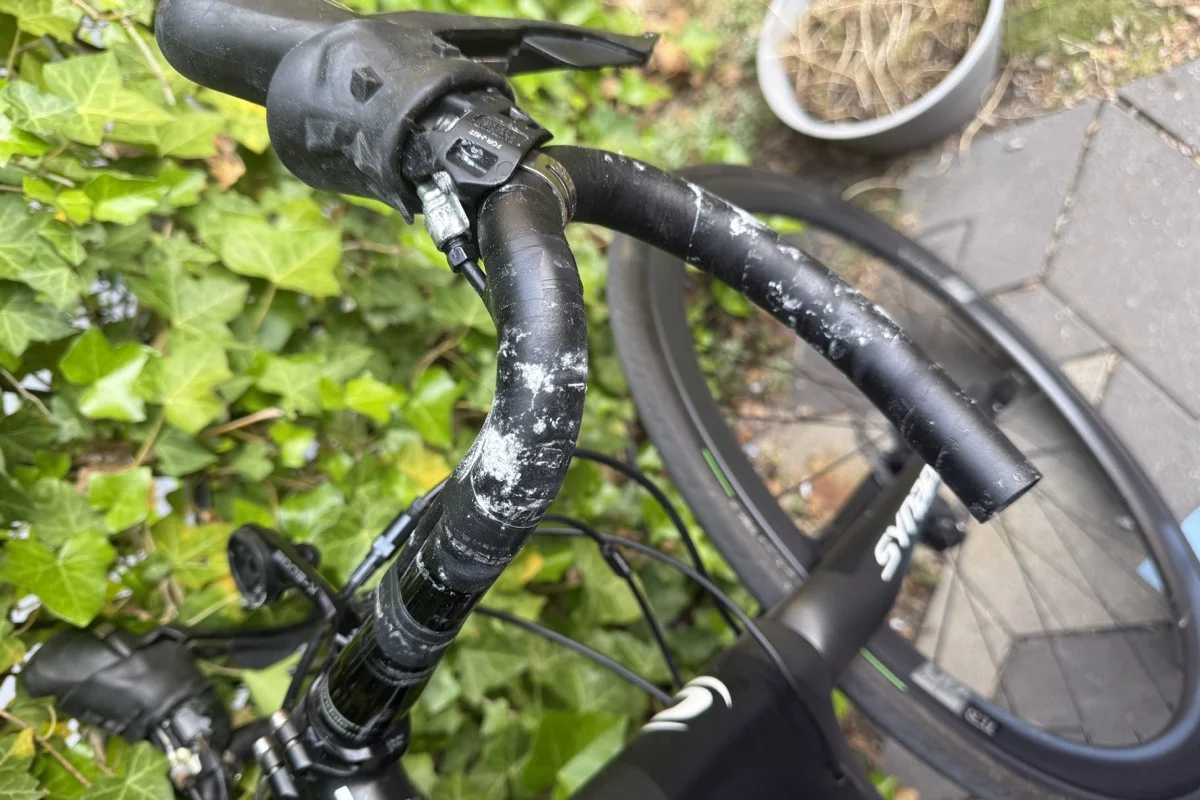
| 7 | Seatpost in seat tube | Long-extension carbon-in-alloy is the worst offender. | Pull, clean both surfaces, carbon paste, retorque. |
| 8 | Headset | Creak on hard climbs or when bars turn under load. Test: front brake on, rock fore/aft. | Loosen stem, repreload top cap, retorque stem. Service bearings if needed. |
| 9 | Stem / handlebar clamp | Tick through your hands when you flex bars side-to-side. | Loosen all bolts, clean, regrease, torque in sequence. |
| 10 | Quick release / through-axle | Wheel-end creak that goes with QR position. | Remove, clean, lightly grease, retorque to spec. |
| 11 | Spokes / hub | Once-per-wheel-revolution. Creaks at the spoke crossings. | Pinch each crossing; if any are loose, retension. Service hubs if rough. |
| 12 | Cable housing end caps | Creak when bars turn but the headset checks out. | Pull cables back enough to seat caps cleanly with grease. |
A few honourable mentions that aren't in the table because they're rarer: derailleur hanger to frame interface, wheel quick-release/dropouts, suspension pivot bearings, and (last resort) the frame itself. If you've worked through the table and the creak persists, then a frame inspection is justified — but the order matters.
A diagnostic kit that pays for itself
You'll find the creak faster, cheaper, and more permanently with five tools that together cost less than one wrong bottom bracket:
- Torque wrench (€30–€60) — most creaks are under-torqued fasteners. A torque wrench is the single most-impactful tool in this list. Spec is on every modern frame.
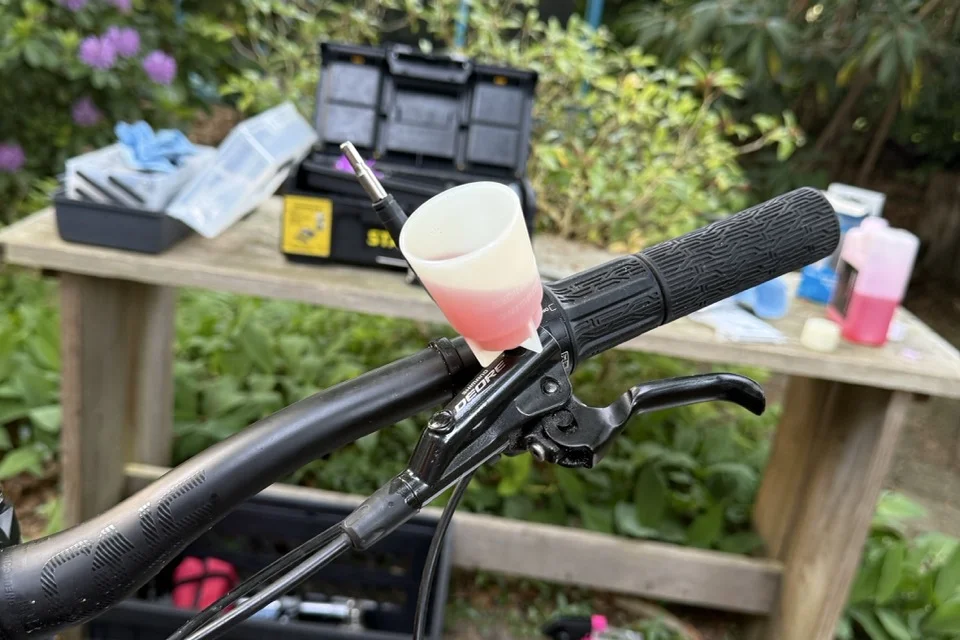
- Carbon paste / friction paste (€10) — non-negotiable for any carbon-on-carbon or carbon-in-alloy interface (seatpost, stem, bars). Skipping this is why your seatpost creaks.
- Quality grease (€10) — for metal-on-metal interfaces. Park Tool PolyLube, Phil Wood, or similar.
- Anti-seize (€10) — for threaded interfaces, especially pedal threads, BB threads, and chainring bolts.
- Spoke tension meter (€30 entry-level, €100+ shop quality) — only if creaks recur at the wheels. Most riders skip this and rely on the LBS.
Total: under €100 for a kit that pays itself back in one avoided BB replacement.
When to give up and go to the shop
Two signals: (1) you've worked through the position-and-cadence tests and the top six suspects in the table, and the creak is still there. (2) You hear something that isn't a creak — a crack, a grinding, a sudden change in feel. Frame cracks make a different sound than interface creaks; if there's any chance the noise is structural, stop riding and have someone inspect.
For everything in between, the table above clears 80% of cases without leaving the workshop.
Track it in WatchMy.bike
This is where the creak hunt earns its place in your gear log. Open your bike's logbook and record what happened: date, suspect, fix, whether it worked. Three reasons:
- You'll see patterns over time. If your BB creaked in March, again in July, and again in November, the bearings are probably done — and you have the data to justify the swap instead of guessing.
- Components can carry their own service history. Log the regrease as a service on the BB component itself. Next time you do it, the chat (or you) can see "last serviced 8 months ago".
- Open the chat and ask. "Has this bike had a BB creak before?" — the assistant searches your logbook and tells you. That single feature is the difference between a creak hunt that takes an evening and one that takes three weekends.
Or just ask the chat directly: "My Domane is creaking when I stand on climbs — what should I check first?" The post you're reading is in the corpus the chat searches over, so it'll walk you through the diagnostic backbone above with your specific bike's components in mind.
Stuck on a creak that doesn't fit the table? Email me at marien@watchmy.bike — I collect weird ones, and a future version of this post might end up shorter because of yours.