Chain Maintenance 101: The Hidden Watts You're Losing (and the Money You're Burning)

Quick answer: Replace your bike chain at 0.5% elongation — measured with a chain-checker tool. For most road bikes that's every 3,000–5,000 km; for mountain bikes 1,500–3,000 km. Replace at this threshold and a cassette lasts through 2–4 chains. Miss it, and you're also buying a cassette (€80–150) and possibly chainrings (€60–200) — turning a €30 chain into a €200+ drivetrain replacement.
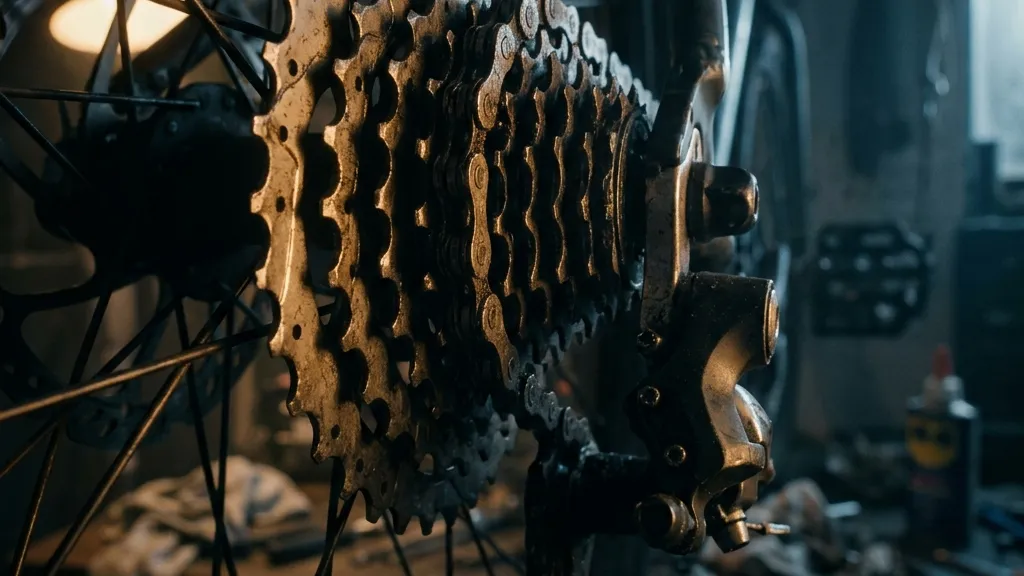
You just finished a familiar climb. Same effort, same heart rate — but 20 seconds slower than last month. Nothing feels broken. Shifting is fine. No weird noises. Yet somewhere in those 116 chain links, friction has been quietly stealing your power for weeks.
This is what neglected chain maintenance actually looks like. Not a dramatic snap mid-ride, but a slow, invisible bleed of watts and money that most riders never notice until the repair bill arrives.
The Silent Performance Thief
A new, clean chain transmits your pedalling power with roughly 2 watts of friction loss. That's the baseline tax you pay for converting circular motion into forward speed. Perfectly acceptable.
But as dirt works its way between pins and rollers, and metal surfaces grind against each other under load, that tax climbs. A chain approaching 0.5% elongation typically costs you 4–7 watts. Push past 0.75%, and you're losing 5–10 watts every pedal stroke. At 250 watts of effort, that's up to 4% of your power that never reaches the rear wheel — roughly 20–30 seconds lost on a 20-minute climb.
The frustrating part? Your body can't detect gradual friction increases. The loss shows up in your ride data long before it shows up in how the bike feels.
Why Chain Wear Is Not Linear
A chain doesn't degrade at a steady rate. The factory coating on the pins and rollers provides initial protection, but once that layer wears through, metal-on-metal contact accelerates. Grit trapped between the links acts like microscopic sandpaper with every revolution. Corrosion from wet or salty conditions compounds the damage further.
The result is that wear speeds up as it progresses. A chain might cruise along happily for 2,000 km before hitting 0.25% elongation, then blow through 0.5% in the next 1,000 km — especially in poor conditions.
This is why checking by feel or "when you remember" almost always means replacing too late.
The Hidden Mistake: What You Do (or Don't) After the Ride
Here's the part most riders skip: a chain takes a lot of its damage after you stop pedalling, not just during the ride.
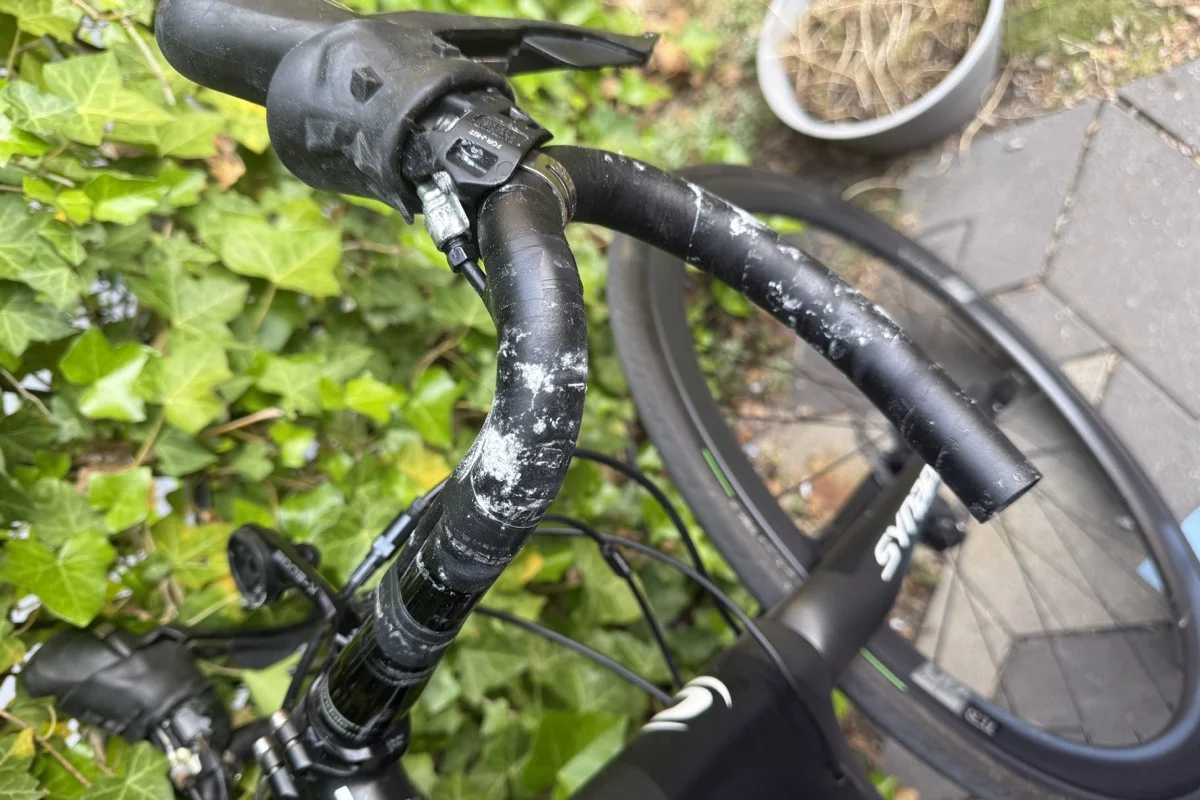
On gravel — and on any wet road — fine dust, sand and grit work their way into the lubricant on your chain and pulleys. Dry, that's bad enough. Add water and you've manufactured a grinding paste sitting between every pin and roller. Some mechanics estimate a single muddy gravel ride can age a chain as much as a thousand kilometres of dry asphalt, and a meaningful share of that damage happens in the hours after you rack the bike, while the slurry is still wet and abrasive.
The mistake is simple: you finish the ride, you're tired, you lean the bike against the wall and head inside. Grime that was harmless in motion now sits clamped against unprotected metal, and corrosion starts within minutes.
The five-minute post-ride routine
After any wet, muddy, or gravel ride:
- Rinse the drivetrain gently — cassette, chain, derailleur, pulleys. A garden hose at low pressure is fine. Never use a pressure washer — it drives water and grit past the seals on bearings and pulley wheels, where the damage is invisible until something fails.
- Dry the chain immediately with a clean rag. Run it through the rag and backpedal until the rag comes away mostly clean.
- Backpedal a few revolutions to shed water from the rollers.
- Re-lube with a gravel-specific or wet lube to displace residual moisture. Skip this and you'll find rust spots on the chain by morning.
- Wipe down fork legs and seals if you're running suspension or a dropper post.
Five minutes. The drivetrain it saves is worth several hundred euros.
A neglected gravel chain can be measurably worn after a few hundred kilometres of bad-weather riding. The same chain, on the same bike, with a disciplined post-ride routine will outlast its road counterpart. Same parts — different habits.
The Replacement Threshold: 0.5% for Modern Drivetrains
A chain checker tool (€10–20) is the single most cost-effective investment you can make. Here's what the numbers mean:
| Measurement | What to Do |
|---|---|
| 0.0 – 0.5% | Ride on — chain is healthy |
| 0.5 – 0.75% | Replace the chain soon |
| 0.75 – 1.0% | Replace immediately |
| > 1.0% | Replace chain AND cassette |
Important nuance for 11-speed and 12-speed systems: the 0.5% threshold is the hard ceiling, not a suggestion. These narrower chains have tighter tolerances, and the lighter alloys and titanium used in premium cassettes (think Dura-Ace, Red AXS) wear dramatically faster when subjected to an elongated chain. A chain at 0.6% on a high-end cassette does disproportionate damage compared to the same wear on a budget groupset.
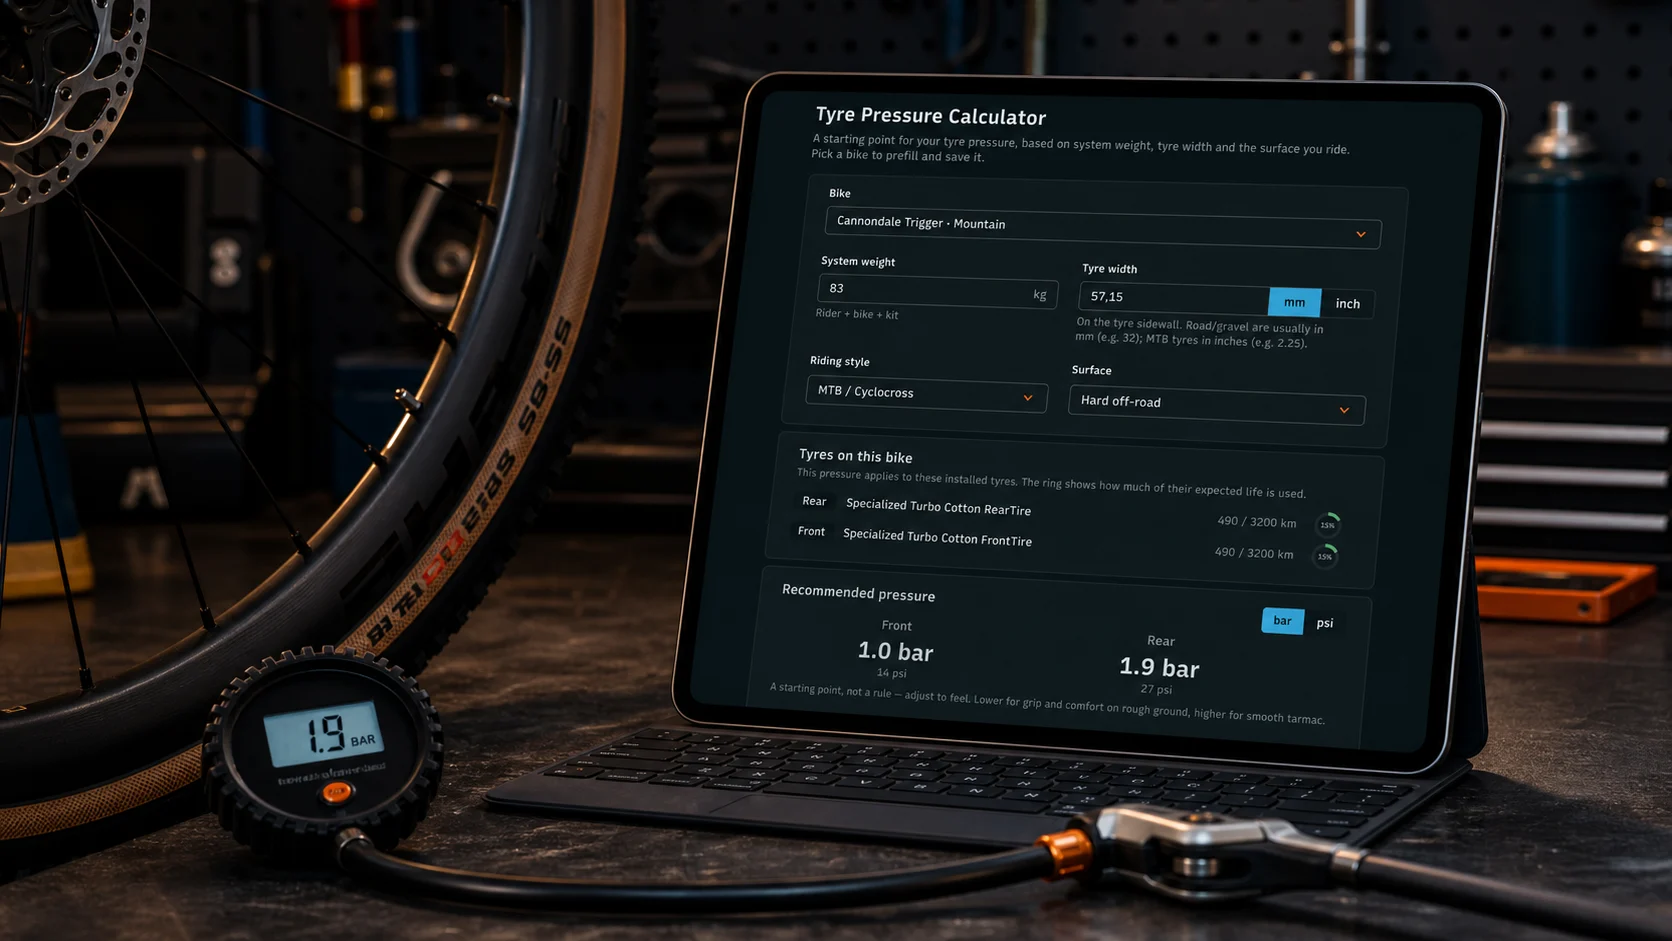
No chain checker handy? WatchMy.bike now has a chain wear calculator in its tools. You measure across a few links with a ruler, pick your drivetrain speed, and it gives you the wear percentage against the right threshold — and because it knows the distance on that chain, it estimates how far you've got before you hit the limit. It's the ruler method for when the €15 gauge is in someone else's toolbox.
Typical Distance Between Replacements
How far a chain lasts depends heavily on conditions, maintenance, and riding style:
- Road (dry conditions): 3,000–5,000 km
- Gravel (dry, well-maintained): 2,500–4,000 km
- Gravel (wet/muddy, no post-ride care): as little as 500–1,500 km
- Mountain bike: 1,500–3,000 km
- E-bike: 1,000–2,000 km (higher torque wears chains faster)
- Commuter / wet-weather riding: 2,000–4,000 km
- WorldTour pro teams: every 1,500–2,000 km regardless of measured wear
That last data point is telling. Professional mechanics don't wait for a chain checker to tell them what distance already predicts. They replace proactively because even marginal friction losses matter in races decided by seconds.
Replacing Your Chain (and When to Replace the Cassette Too)
Knowing the threshold is one thing — actually swapping the chain is another. The good news: it's one of the easier bike jobs, and doing it yourself saves a workshop visit every time.
What you need: a chain tool or a master link (quick-link) pliers, and the correct replacement chain for your drivetrain speed (8/9/10/11/12-speed). Most modern chains come with a quick-link, which makes removal and installation tool-free once you have the pliers.
The steps:
- Shift to the smallest cog and smallest chainring — this takes tension off the chain
- Open the quick-link (or push out a pin with a chain tool if your chain doesn't have one)
- Thread the new chain through the rear derailleur and over the chainrings, following the same path as the old one
- Size the new chain: hold it against the old chain and match the length exactly, or route it around the largest cog and largest chainring without going through the derailleur — add two links to that length
- Connect the quick-link or push the pin back in
- Pedal through the gears a few times and check shifting
The whole job takes 10–15 minutes once you've done it a couple of times.
When does the cassette need to go too?
This depends entirely on how timely you've been with chain replacements:
- If you replace chains consistently at 0.5%, your cassette will typically last through 3–4 chain lives. That's 9,000–20,000 km depending on conditions — a long time.
- If you've let a chain run past 0.75%, there's a good chance the cassette teeth have been reshaped by the elongated chain. A new chain on a worn cassette will skip under load, especially on the smaller cogs you use most. At that point, you need both.
- If your chain is past 1.0%, replace chain and cassette together — no question. The chainrings may also be compromised, so check for hooked or shark-fin-shaped teeth.
A quick test after fitting a new chain: ride up a short hill in a gear you use often and put down firm power. If the chain skips or lurches forward, the cassette is done. If it grabs cleanly across all gears, you're good.
Chainrings are tougher than cassettes (harder steel, larger teeth) and typically outlast 5–6 chains if you maintain the chain properly. Inspect them when you replace a cassette — look for teeth that have become asymmetric or hooked on one side.
For a deeper look at how one neglected part drives up the cost of everything around it, see our post on how regular cleaning and smart tracking pay for themselves.
Choosing the Right Lubricant
Your lube choice should match your riding conditions, not your brand loyalty.
Wet Lube
Thicker, stays put in rain and mud. Attracts more dirt, so you'll clean more often. Best for: winter riding, commuting in all conditions, consistently wet climates. Reapply every 200–400 km.
Dry Lube
Lighter, cleaner-running, repels dust. Washes off easily in the rain. Best for: summer, dry gravel, indoor training. Reapply every 100–200 km.
Wax (Drip or Immersion)
The performance option. Wax runs extremely clean and produces the lowest friction of any lube type. The trade-off is setup effort: immersion waxing requires stripping the chain completely (a solvent bath until zero black residue remains) before dipping it in hot wax.
Drip wax is the easier entry point — apply like a regular lube, reapply every 200–300 km on clean roads.
Immersion (hot) wax lasts significantly longer — 1,500–2,400 km between re-waxes in good conditions — but requires a wax pot and the initial deep-strip process.
After any wet ride on a waxed chain: dry the chain quickly and reapply drip wax as a top-up.
The Chain Rotation System
Dedicated riders often run 3–4 identical chains on rotation:
- Hot-wax all chains in a batch
- Ride one chain for 300–500 km
- Swap to the next chain (takes 2 minutes with a quick-link)
- Re-wax all chains together when the batch is used
This spreads wear evenly across chains AND the cassette, extending the life of everything. Each chain sees less accumulated wear before it's re-waxed, so your drivetrain stays in its lowest-friction state almost permanently.
How WatchMy.Bike Makes This Automatic
The hardest part of chain maintenance isn't knowing what to do — it's remembering when. Especially if you own multiple bikes, each accumulating wear at different rates depending on conditions.
WatchMy.Bike connects to your Strava account and tracks mileage on every component after each ride. No manual logging, no spreadsheets going stale.
Set up these three alerts and forget about guessing:
- "Clean Chain" — recurring every 200 km
- "Check Chain Wear" — recurring every 500 km
- "Replace Chain" — at 3,000 km (adjust based on your conditions)
When a threshold approaches, you get notified before the damage starts. Replace your chain at the right moment, and you protect the expensive cassette and chainrings behind it.
If you're running a chain rotation system, track each chain as a separate component and use the notes field to record its position in the rotation.
Set up your first maintenance alert →
Questions about drivetrain care? Reach out at marien@WatchMy.Bike.