How to Create a Bike Profile Page for Your Collection
Quick answer: A bike profile page needs four things: the bike's identity (make, model, year), its component list with real model names, photos with the drive side first, and the story of where it came from and what changed. On WatchMy.bike that takes about fifteen minutes per bike: choose a handle for
watchmy.bike/p/your-handle, add the bike, paste or type its parts, upload photos, then publish it from the Sharing tab. Free plan, no card. If you'd rather build the page yourself, a Notion page or your own site works too, but nothing will keep the distances current for you.
Every serious cyclist accumulates bikes. A road bike, then a gravel bike for the rougher routes, then the argument with the family about the n+1 rule while a steel frame sits in an eBay tab. Before long you own a collection and nobody, including you, can say from memory which cassette is on which bike.
A profile page per bike fixes that. It is the permanent record you will want when you sell, when something creaks, or when a friend asks what fork that is. Here is how I set mine up, with the shortcuts I use and the places where the other options fall short.
Start With the Handle
Your profile lives at watchmy.bike/p/your-handle. Pick it in Settings → Public profile: three to twenty characters, lowercase letters, numbers, hyphens or underscores. Mine is marvos, which is why my profile is at /p/marvos. Choose carefully: changing it later is rate-limited so old links don't break every week.
The same screen holds the three switches that decide how much of you goes on the page:
| Switch | What it shows when on |
|---|---|
| Show real name | Your name instead of only the handle |
| Show location | Your city on the profile header |
| Show costs | Build cost and component prices on every published bike |
Leave costs off until you have decided you want buyers and strangers to see what you paid. You can turn it on later. Everything else about the page is on for every plan; Alloy and Carbon add custom themes for the public pages.
Add Each Bike
One bike at a time:
- Identity. Make, model and year. Year is optional, and if you don't know it, leave it empty. A guessed year on a profile is worse than no year.
- Status. Current, wishlist or retired. Retired bikes keep their pages, so a bike you sold still has its history.
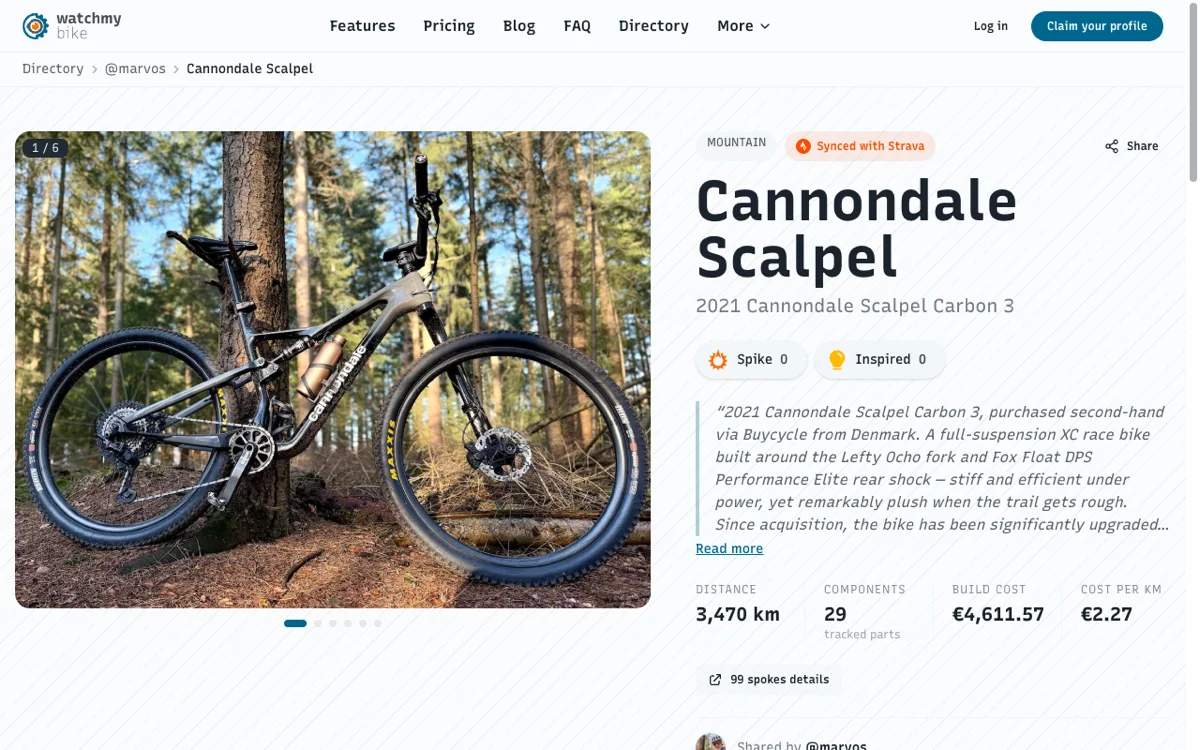
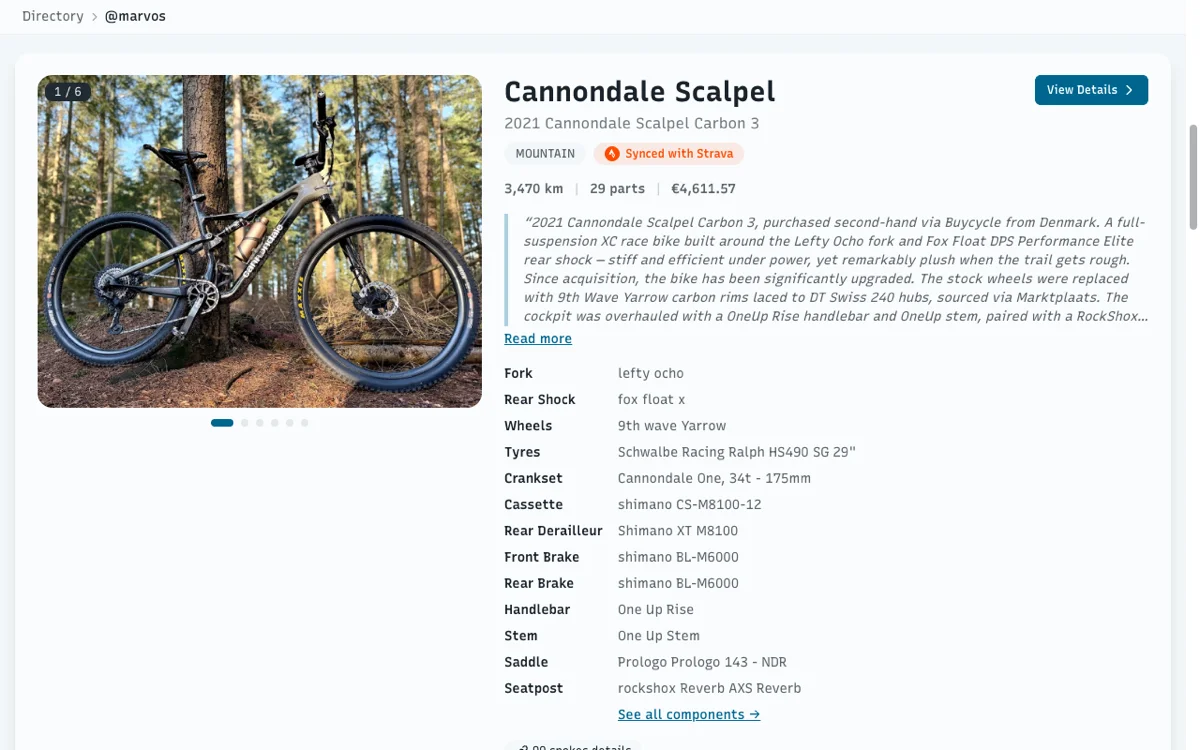
- Story. The description field is the narrative: where it came from, what you have changed, what it is for. This is what the screenshot at the top shows on my Scalpel, second-hand from Denmark, upgraded wheel by wheel.
- Purchase date and price. Optional. Price only appears publicly if "Show costs" is on.
Add the Components
This is the part people skip, and the part that makes a profile worth reading. "Shimano groupset" tells nobody anything. "Shimano XT M8100 12-speed" does. Three ways to get the list in:
- Paste it. Copy a spec sheet from the manufacturer page, a retailer, or your old Strava gear table and paste it into the component import. The parser pulls out brands, models and types for you to review before anything is created.
- Say it. The in-app chat takes "add a Prologo 143 saddle to the Scalpel" and does it. On a phone this beats forms every time.
- Type it. The form is there when you want it.
Aim for the list a mechanic would want:
- Drivetrain: shifters, derailleurs, crankset with length, bottom bracket, cassette with range, chain.
- Wheels and tyres: wheelset with rim depth, tyres with width, tubeless or tubes.
- Cockpit: bars with width, stem with length, tape or grips.
- Contact points: saddle, seatpost, pedals.
- Brakes: model, and rotor sizes on disc.
- Suspension: fork and shock, since their service is on hours, not kilometres.
Each component gets its own odometer once the bike rides, which is the difference between a profile and a parts list. How that odometer works is its own post.
Photos
Three per bike on the free plan, ten on Alloy, a hundred on Carbon. Whatever the number, the order matters more:
- Full drive side. The one photo every bike page needs, and the one social previews will use.
- Cockpit. Bars, stem, computer mount.
- Rear cluster. Derailleur and cassette, the parts people ask about.
- Anything custom. Paint, decals, the odd part.
Outdoors, natural light, bike cleaned first. Yes, really.
Connect Strava, or Don't
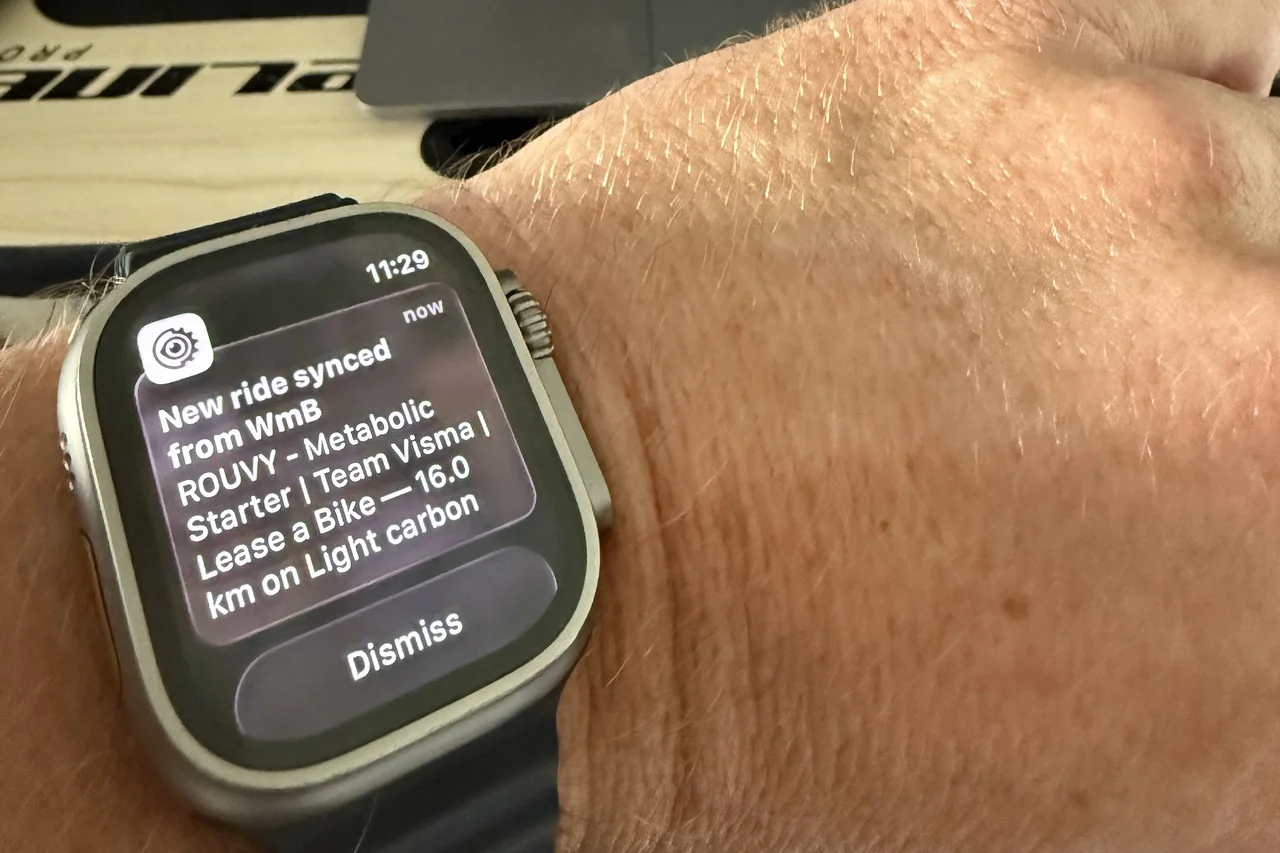
Optional, but it is what keeps the page honest. With Strava connected, each ride adds to the bike's distance and to every component on it, so the page shows what the bike has actually done rather than what you last typed. Without Strava, update the odometer by hand when you remember; the page works the same way.
Publish
Open the bike, go to the Sharing tab, publish, copy the link. Each bike is published on its own, so a project bike can stay private while the finished one is public. Logbook entries have their own Public switch too, off by default, if you want a build diary on the page. What a published page shows and hides is covered separately.
If You Would Rather Build It Yourself
Some riders want full control of the page. Two honest options:
Notion, Google Sites or similar. One page per bike, a header image, a table of parts, a history section. Free and fully yours. The cost is that every swap is a manual edit and nothing tracks distance, so the page drifts from the bike within a season.
Your own website. A /bikes/ section with a page per bike gives you total freedom and the same maintenance burden, plus hosting. Some of the best-looking bike pages I know are built this way. None of them are current.
Pedal Room deserves a mention as the community gallery: add a bike, upload photos, fill in the parts, get a permanent URL. The design is lovely and the crowd skews fixed-gear and vintage. It has had outages over the years, so don't make it the only copy of your records.
For Collectors
Past four bikes, structure starts to matter:
- Statuses do the sorting. Current, wishlist and retired keep the garage readable, and retired bikes keep their pages for provenance.
- Cost tracking (Alloy and up) sums purchase price and component prices per bike and works out the cost per kilometre. Useful for insurance, humbling otherwise. What that number means is another post.
- Documents. Receipts, invoices and warranty cards attach to the bike or the part, five files on the free plan, unlimited on Alloy. For a vintage bike, this is where the provenance lives: original invoice, the serial number in a photo, the parts that are still original.
The profile is one of the six jobs a digital bike garage has to do. Once the garage is tracked, the public page is a by-product, not a chore.
How WatchMy.Bike Makes This Automatic
The whole sequence, in the order I do it for a new bike:
- Settings → Public profile: handle and the three switches, once.
- Add the bike, paste the parts, drop in the photos.
- Publish from the Sharing tab. Strava keeps the distances moving from there.
Then share the link where cyclists gather; the best places to show off a build has the list, and a documented page always outperforms a blurry "new bike day" shot with no context.
Start documenting your collection →
Questions about setting up your bike profiles? Email me at marien@WatchMy.Bike.