How to Set Up Bike Maintenance Alerts: The 6 Every Rider Needs (With Exact Values)

•7 min read
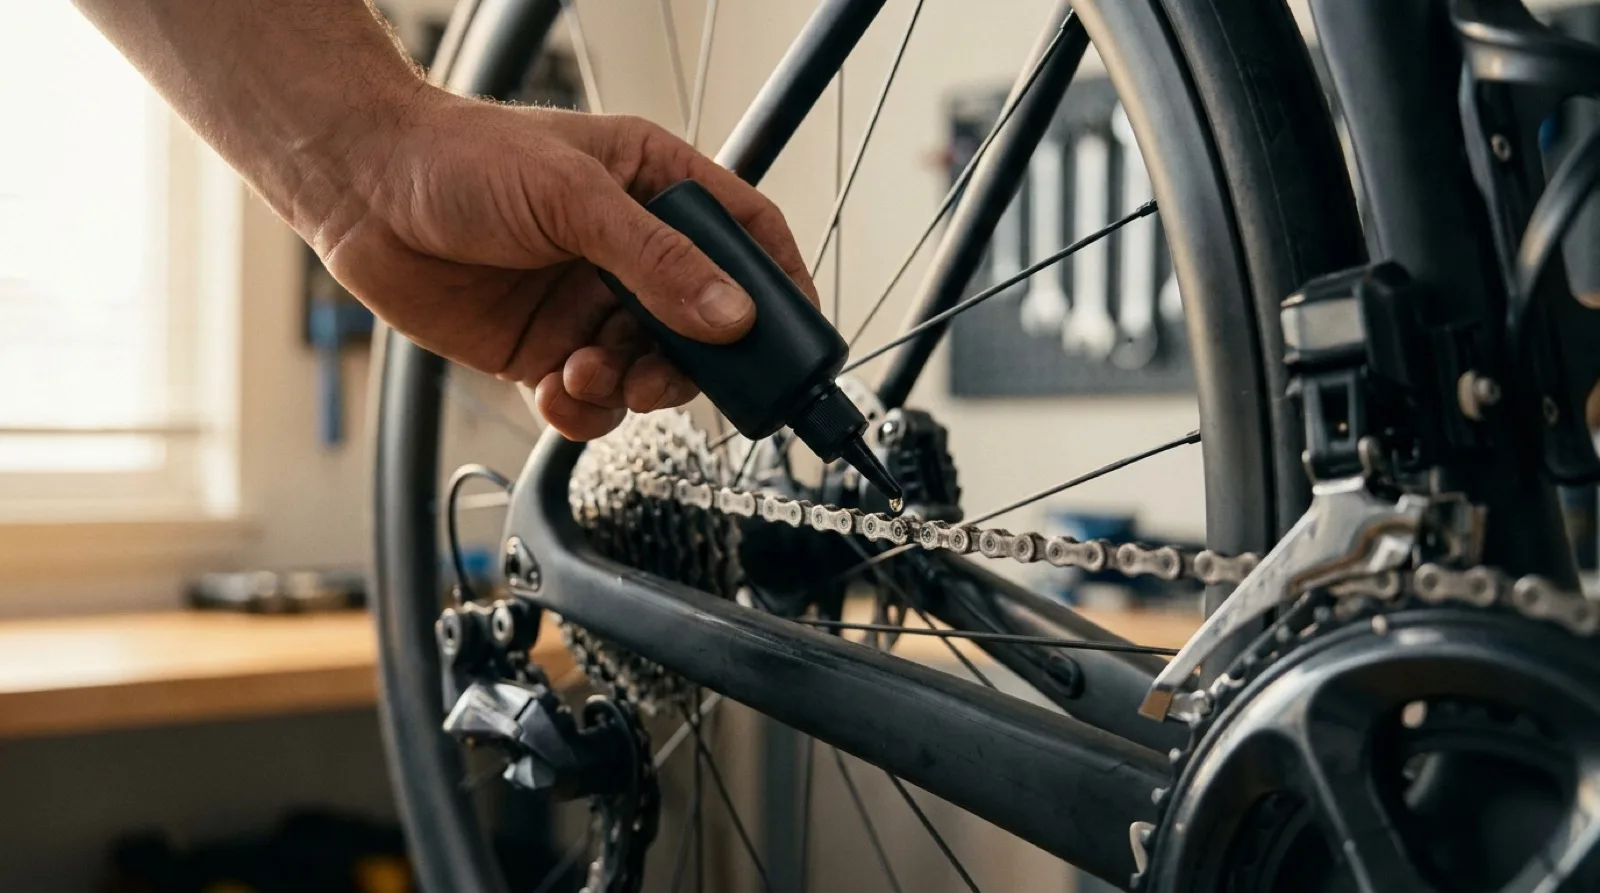
Quick answer: Set six alerts: chain wear check every 1,000 km, chain lube every 250 km (re-lube after any wet ride regardless), drivetrain deep clean every 1,500 km, tubeless sealant top-up every 3 months, brake fluid bleed every 12 months (DOT — mineral oil stretches to 24), and bearing service every 12 months or 5,000 km, whichever comes first. Wear items get distance-based alerts; chemicals get calendar alerts. Never the other way round.
You already know you want reminders — that's why you're here. The trap is what comes next: most people open a reminder app, type "service bike", pick "monthly", and feel organised. Six weeks later the reminder fires on a rest week, gets snoozed twice, and dies. Meanwhile the chain quietly passes 0.5% elongation and starts filing down a cassette worth four times its price.
A reminder set to the wrong interval is worse than no reminder. No reminder leaves you appropriately nervous; a wrong one manufactures false confidence while the wear happens anyway.
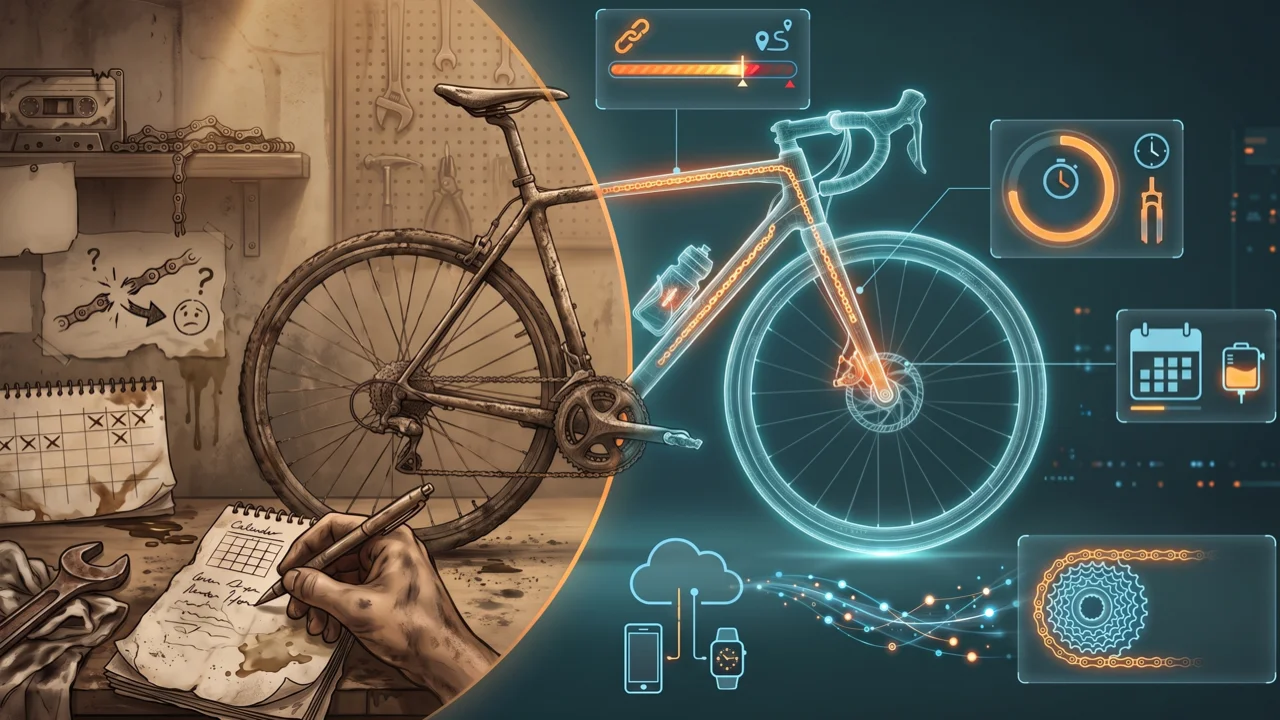
I'll say it: calendar reminders for mechanical wear are theatre. "First Sunday of the month" knows nothing about the 600 km you did — or didn't — ride since the last one. Distance-based alerts are the only honest kind for wear items. Calendars are for chemicals: brake fluid absorbs moisture and sealant dries out whether the bike moves or not. Match the alert type to the failure mode and the whole system starts working.
Set These Six Alerts First
This is the starter set. Every value below is a sensible default for a road or gravel bike in mixed conditions — halve the distances if you ride wet, gritty, or loaded.
| # | Alert | Type | Value | Why this number |
|---|---|---|---|---|
| 1 | Chain wear check | Distance | Every 1,000 km | Measure with a checker; replace at 0.5% elongation before it eats the cassette |
| 2 | Chain lube | Distance | Every 250 km | Lube life is 200-300 km dry; one wet ride resets the counter to zero |
| 3 | Drivetrain deep clean | Distance | Every 1,500 km | Cassette, jockey wheels, chainrings — clean drivetrains wear measurably slower |
| 4 | Tubeless sealant top-up | Time | Every 3 months | Sealant dries out in 2-6 months depending on climate; 3 is the safe middle |
| 5 | Brake fluid bleed | Time | Every 12 months (DOT) / 24 (mineral) | DOT fluid absorbs moisture through the hose walls, ridden or not |
| 6 | Bearing service (BB, hubs, headset) | Time or distance | Every 12 months or 5,000 km | Bearings have no visible wear indicator and announce failure late |
The reasoning behind each interval — and the every-ride checks that don't need an alert at all — is in the road bike service schedule.
Six is deliberate. Set fifteen alerts on day one and you'll train yourself to dismiss them; alert fatigue kills a reminder system faster than a wrong value does. Add more once these six have survived a month.
Know the Two Kinds of Alert
WatchMy.bike distinguishes two alert types, and the distinction matters more than it looks:
- Lifespan alerts track a component toward the end of its life. You set an expected total distance — say 6,000 km on a chain-checked cassette or 4,000 km on a rear tire — and the alert fires as wear approaches 100%. One-shot, per component: it answers "when do I replace this part?"
- Service-interval alerts recur. Every 1,000 km, every 3 months, every 40 riding hours — the counter resets each time you log the service. They answer "when do I maintain this part?"
All six alerts in the table above are service intervals. Lifespan alerts come from a different question — how long each part is expected to last — and the reference values for that live in how long bike parts last. A well-set-up bike has both: intervals for the recurring work, lifespans for the replacement horizon. Alerts are step three of a four-step system — the other three are in how to track bike maintenance.
Why Your Calendar App Can't Do This
You can absolutely put "check chain" in Google Calendar, and for the two chemical items it works fine. For everything else it fails in a specific, predictable way: a calendar has no odometer.
- It fires on time, not on wear. Ride 1,200 km in a big training month and the monthly chain check comes three weeks late. Skip riding in November and it fires anyway, teaching you to ignore it.
- It can't reset on the actual service. Do the deep clean a week early because the bike was filthy and the calendar still fires on schedule — now the reminder and reality have drifted apart permanently.
- It knows nothing per component. Swap to your winter wheelset and the calendar keeps counting for parts that are sitting in a cupboard. Distance tracking accrues per component, only while it's installed.
So the honest split is: distance-based alerts for wear items (alerts 1, 2, 3, 6), calendar alerts for chemicals (4 and 5). A tool that syncs your Strava kilometres can run both kinds side by side; a calendar can only fake the first kind.
How WatchMy.Bike Makes This Automatic
Strava sync keeps the odometer running per component, so distance alerts fire on kilometres actually ridden — and every interval resets the moment you log the service, so the schedule tracks reality instead of drifting from it. Alerts arrive by email and push.
Here's the actual setup, start to finish — about five minutes.
1. Add the recurring intervals
Open the bike — or the specific component, like the chain — and click the Service tab. Under Service Intervals, hit Add Interval. Give it a name, choose the Interval Type, and enter the number:
| Interval name | Interval Type | Value |
|---|---|---|
| Measure chain wear | Distance | 1,000 km |
| Top up sealant | Calendar | 3 months |
| Bleed brakes | Calendar | 12 months |
Those three are the starter set in the app's own words — Distance for the wear item, Calendar for the two chemicals. (The third type, Riding Time, bills by hours actually ridden from Strava — handy for an e-bike motor service, overkill for this list.) Each interval gets a Record Service button: tap it when the job's done and the counter starts again from zero.
2. Set the end-of-life alert
This one isn't a recurring interval — it's a field on the component. When you add or edit a part (the Add Component flow, or Edit on an existing one), fill in Expected Lifespan on the Details step — say 6,000 km on a cassette. WatchMy.bike then warns you as the part approaches that number. Pick a known component type and it pre-fills a sensible default, so you're editing a starting point rather than guessing from scratch. Reference numbers are in how long bike parts last.
3. Choose when — and how — you hear about it
The warning threshold is one global setting, not something you tune per alert. In Settings → Notifications you set the percentage of lifespan that triggers the heads-up (default 80%), and a critical alert always fires at 100%. Turn on email and push in the same place — or flip push on during signup, it's now part of onboarding.
That's the whole system: distance intervals for wear, calendar intervals for chemicals, an expected-lifespan number for the replacement horizon, and one threshold for how early you want the nudge. The click-by-click version lives in the help centre — service intervals, maintenance alerts, and turning on push notifications.
Set up your first maintenance alert →
Questions about which alerts to set for your bike? Reach out at marien@WatchMy.Bike.