Mountain Biking in Dry, Dusty Conditions: How to Ride the Loose Stuff — and Save Your Bike From It

•9 min read
Quick answer: In loose, dry sand, stop fighting the drift — commit to the line, keep the bike as straight as you can, steer as little as possible, and let it slide over the surface rather than carving through it. Run lower tire pressure than usual — a softer tire floats over loose ground and finds grip a hard one can't. Then look after the bike: dust is an abrasive, not just dirt. Run a wax or dry lube (never wet lube in dust — it turns to grinding paste), check your chain more often, and treat suspension service as an hours job, not a calendar one — RockShox wants a lower-leg service every 50 hours, Fox every 30 on the air sleeve, and both tell you to shorten that in abrasive conditions. And never pressure-wash or blast compressed air straight at the seals.
The first time my Scalpel stepped out under me in deep, dry sand, my instinct was to grab everything — brakes, bars, a fistful of panic. That's exactly the wrong move. The bike was drifting, the front was wandering, and every part of me wanted to slow down and correct it.
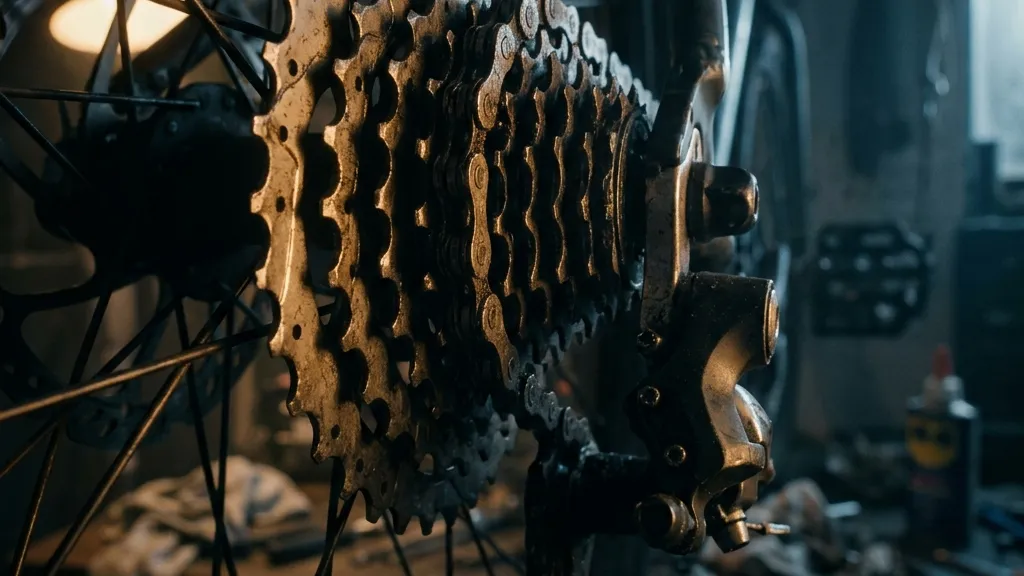
Dry, loose conditions punish that instinct twice. They punish it in the moment, because a bike you're fighting is a bike that's about to wash out. And they punish it later, quietly, because the same dust that's making you nervous is working its way into your chain, your bearings, and your fork lowers like a fine grinding compound. A dry summer feels like the easy season. For your bike, it's the abrasive one.
Ride the Drift Instead of Fighting It
Here's the thing nobody tells you about loose sand: you are always going to drift a little. The front will wander, the rear will step out on the climbs, and the bike will feel like it's moving underneath you rather than with you. At first that's frightening. After a few corners and a couple of climbs, it stops being frightening and starts being information.
The single biggest change is in your head, not your hands. If you go into a loose corner or a sandy climb thinking I'm not going to make this, you won't — you'll back off the power, the rear wheel will lose its bite, and the prophecy fulfils itself. Go in thinking I'm making this and commit fully, and you'll be amazed how much the bike handles. The drift is still there. You've just stopped treating it as a failure.
A few things that made loose sand rideable for me:
- Commit, then attack. Half-throttle through sand is worse than full commitment. Pick the line and drive through it.
- Go straight, steer less. The more you turn the bars in deep sand, the more the front digs and knifes. Keep the bike pointed and let it drift over the surface instead of carving into it. Small corrections, not big ones.
- Accept that some climbs are simply off. There's a point in desert-dry, deep-sand conditions where an uphill just isn't rideable by anyone — no traction exists to find. Knowing when to get off and walk isn't a failure; it saves you a pointless fight and a lot of drivetrain grinding.
- It compounds. After a long ride in the loose stuff, you're calibrated. Corners that terrified you in the first ten minutes feel normal by the end. The confidence is real and it carries over to the next ride.
I'll say it: a dry, dusty summer is harder on your bike than a wet winter. Mud you can see and rinse off. Dust you can't — it hides inside the drivetrain and the seals and works as a lapping paste every single kilometre. The riders who baby their bikes through winter and then hammer a dusty August are servicing the wrong season.
Dust Is a Grinding Paste — Lube for It
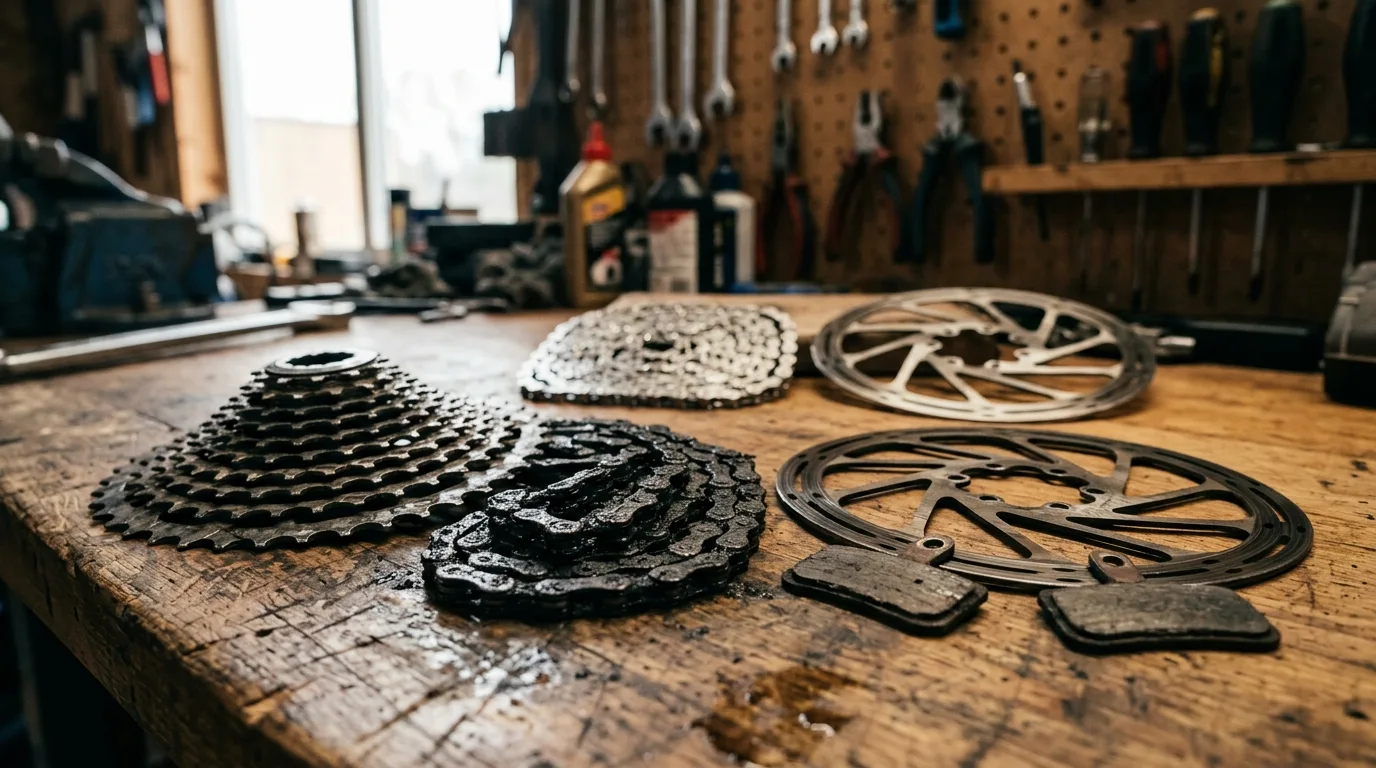
The fastest way to destroy a drivetrain in the dry is to run a wet, oily lube. Wet lube stays tacky on the surface, so airborne dust sticks to it, and the two mix into an abrasive paste that grinds through your chain and cassette. Cycling Weekly's lube testing describes exactly this — a "grinding paste that will eat through your drivetrain."
For dry and dusty riding you want a wax-based or dry lube instead. It sets into a dry, waxy film that doesn't attract or hold grit, as SILCA lays out in its MTB lube guide, and it sheds contamination rather than accumulating it. The trade-off is you reapply more often — dry lube is closer to a per-ride or every-few-rides job than the set-and-forget of a good wet lube in the wet.
Does the grit actually wear things faster? One independent lab, Zero Friction Cycling, ran chains through a deliberate "dry contamination" protocol — five grams of fine sandy loam, applied repeatedly — and extrapolated that a poor lube choice in dirty conditions can wear a chain roughly 2.6× faster than the best setup over the same distance. Treat that as one lab's figure, not gospel — its methods have been publicly disputed by other engineers — but the direction is not controversial: abrasive grit in the chain wears it out sooner. In practice, that means checking chain wear more often in a dry spell. Our gravel maintenance schedule makes the same case for grit-heavy riding: halve your normal chain-check interval.
Your Suspension Is on a Stopwatch, Not a Calendar
This is where mountain bikes differ from the road, and where dust does its most expensive damage. A fork and shock live or die by the seals that keep grit out of the lower legs. Fine dust is precisely the particle size that creeps past a wiper seal and contaminates the oil bath inside.
Both major manufacturers publish service intervals in ride hours, not months:
| Service | RockShox | Fox |
|---|---|---|
| Lower-leg / air-sleeve service | Every 50 hours | Air sleeve every 30 hours |
| Full service | ~200 hours (model-dependent) | 100–125 hours or yearly |
Both makers explicitly tell you to shorten these intervals if you ride in "harsh" or abrasive conditions — and dry, dusty trails are the textbook definition of abrasive. So in a dusty riding season, treat the bottom of those ranges as your target, and get into the habit of wiping the stanchions clean after every ride before the grit gets dragged down past the seal on the next compression.
Tire Pressure: Lower Is Usually the Answer
In the dry and loose, your default should be to let some air out. A softer tire spreads into a bigger contact patch that floats over the loose top layer and reaches down to the firm base underneath, instead of skittering across the surface and washing out. It's the same reason a fat bike works on a beach — more tire on the ground, more grip on a surface that won't hold you up otherwise. Canyon's tire-pressure guide makes this point for dusty hardpack: drop a psi or two (roughly 0.1 bar) below your baseline and you'll find grip a harder tire simply can't. It also pairs with the riding: a tire that's floating and drifting is a tire that's hooking up, not one that's failing.
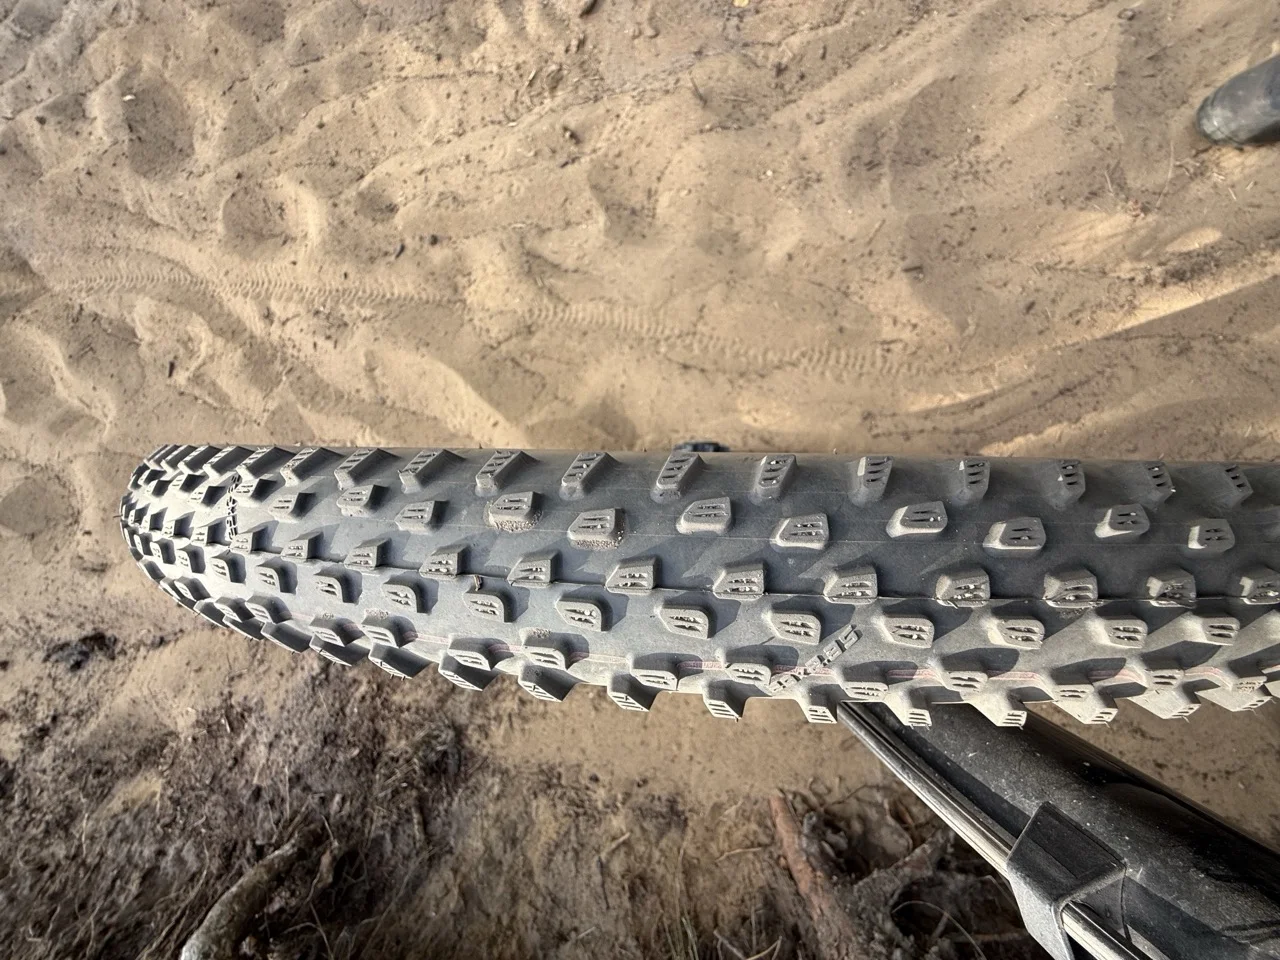
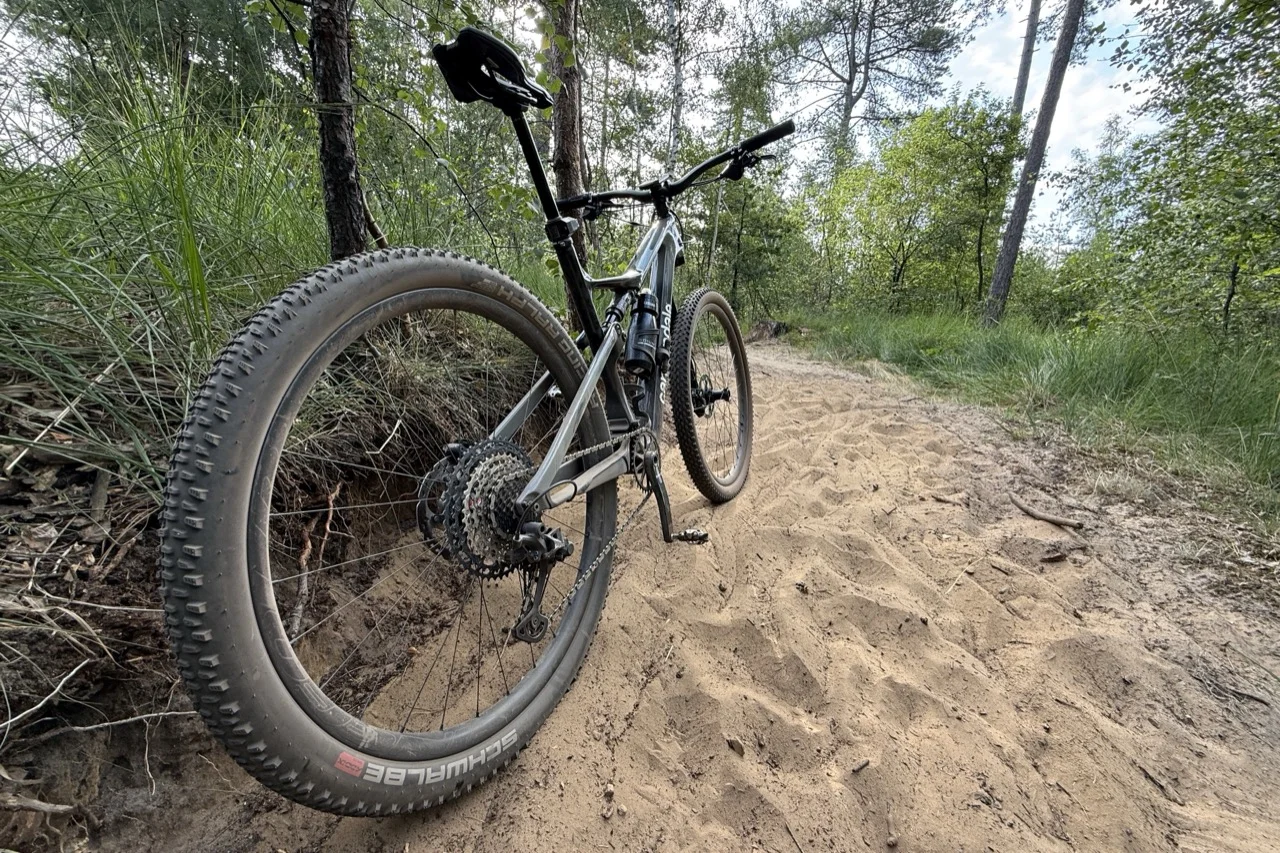
The loose top layer my tire is sitting in — a harder tire skitters across this; a softer one sinks in far enough to find the firm base underneath.
There's one exception, and it's about protection, not grip. When the dust is hiding sharp rock, a too-soft tire pinch-flats on the edges you can't see — so BikeRadar suggests adding about 5 psi (0.3 bar) back for genuinely rocky dry trails. Run low as your default in the loose, and only put air back in when the trail turns rocky underneath the dust. To find a baseline for your tire width and weight before you start adjusting, our tire pressure calculator is the place to start.
The Cleaning Mistake Everyone Makes
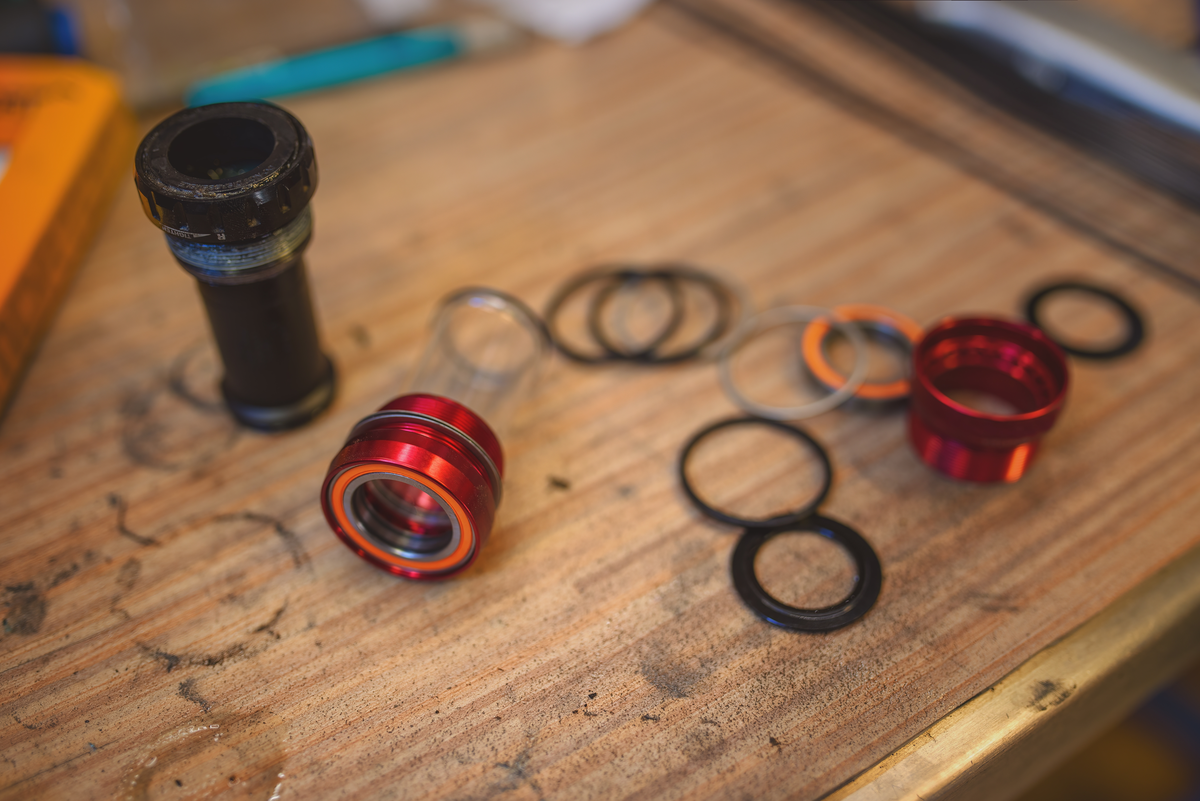
After a filthy dry ride, the instinct is to blast the bike clean — pressure washer, or a jet of compressed air to "blow the dust out." Both do the opposite of what you want. A high-pressure jet, water or air, drives grit past the very seals that were keeping it out — straight into hubs, the bottom bracket, and your fork lowers. Shimano advises against pressure washing entirely and recommends a damp cloth; Park Tool warns not to aim compressed air directly at bearings for the same reason.
Rinse gently from the top down with a bucket or a low-pressure hose, wipe the stanchions and drivetrain with a cloth, let it dry, and re-lube. Slower, but it's the difference between seals that last a season and seals that last a month.
How WatchMy.Bike Makes This Automatic
The trap with dusty-season maintenance is that it's all condition-dependent — "shorten your intervals" is useless advice if you're tracking service by the calendar. WatchMy.bike lets you track it by riding hours and distance instead, which is exactly how the manufacturers think about it.
Set these up before your next dry block:
- "Fork lower-leg service" — a riding-time interval, set to 50 hours (or 30 for a Fox air sleeve). Because it counts hours actually ridden from your Strava activities, a big dusty week moves the date closer automatically.
- "Chain wear check" — a distance interval, cut to the short end for the dry season the same way you would for gravel.
- "Deep clean + re-lube" — a short recurring reminder so the abrasive paste never gets a chance to build up.
Log the service when it's done and the counter resets from zero, so the schedule tracks your real riding instead of drifting from it. If you're new to setting these, the maintenance-alerts starter guide walks through the first six.
Set up your first maintenance alert →
Questions about riding or maintaining in the dry? Reach out at marien@WatchMy.Bike.